This article provides quick overview of WordPress installation in your local machine or web host. The following steps and examples shown are for local machine setup but steps are similar for web host setup.
You need Apache web server and MySQL database server to run WordPress. I prefer XAMPP for local setup as its very easy and Control Panel has Apache, MySQL, and some extra modules.
- Install XAMPP on your local machine. No need to do anything on web host for this step.
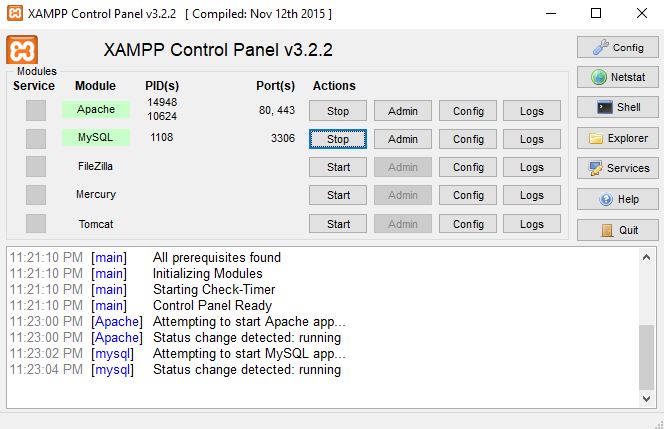
- Open XAMPP Control Panel from your computer and start the modules – “Apache” and “MySQL”.
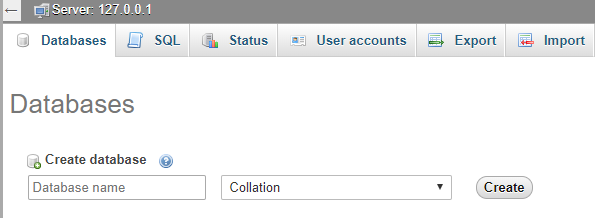
- Open “http://localhost/phpmyadmin/” in browser and create a new database. Make a note of database name.
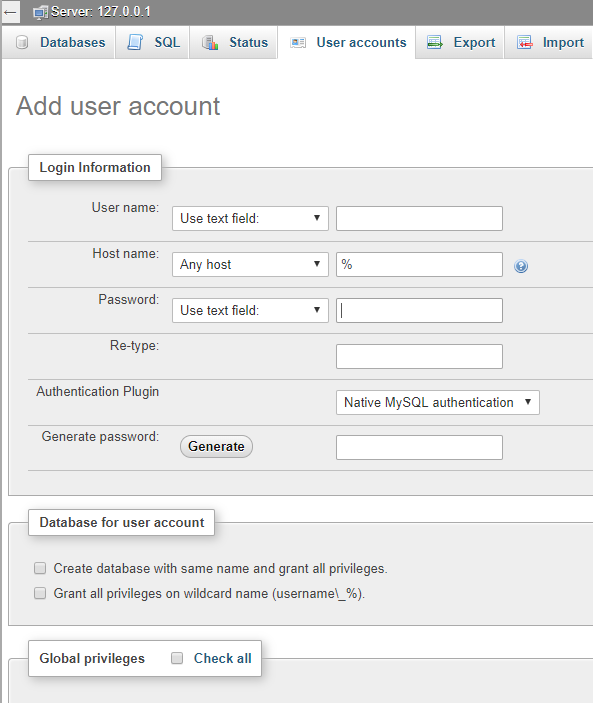
- Go to “User accounts” tab in phpMyAdmin and create a new database user with all global privileges selected. Make a note of “User name”, “Host name” and “Password”.
- Download the latest version of WordPress and unzip the file.
- Navigate to “C:\xampp\htdocs\” and paste folder “wordpress” with its content.
You might want to run multiple versions of WordPress or any other CMS so add files in a new folder (C:\xampp\htdocs\wordpress\) and not directly in root folder of XAMPP (C:\xampp\htdocs\).
- Open “http://localhost/wordpress/” in your browser and WordPress setup page will open.
- After selecting language, proceed to next screen and enter database details when prompted.
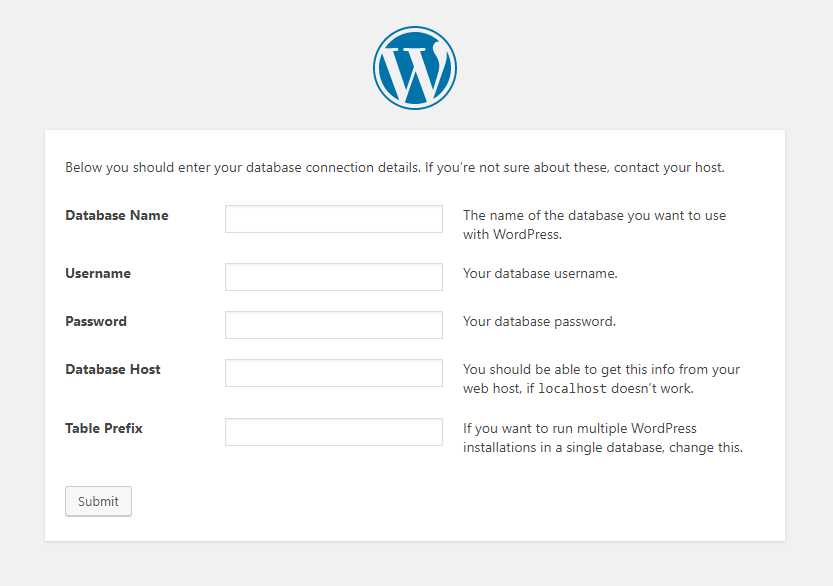
- After submitting database connection details, click on “Run the installation” button. Enter a “Site Title”, “Username” and “Password” for WordPress admin login and your Email for password reset purpose.
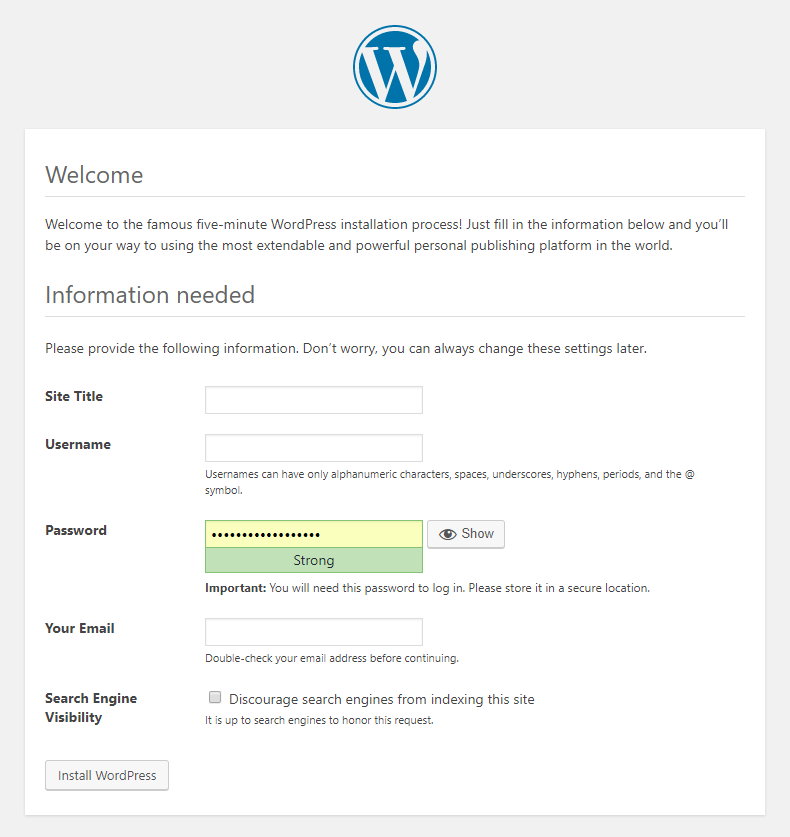
- Thats it! If everything goes fine, you will be able to login into your WordPress site admin dashboard with the “Username” and “Password”.
Please add a comment if you faced any issues or have suggestions for the installation process. Thank you!
Leave a Reply